

The Science of Tie Down vs. Direct Lashings for Securing Cargo
In this post we take a deeper look at the science and differences between using tie-down and direct lashings, aka as belly or choker lashings. At the end of this article you will have a clear understanding of:

-
the difference between the two lashing methodologies
-
how to reach compliance with the NHVR Load Restraint Guidelines
-
how to use a tie down lashing
-
how to use a direct lashing
-
how to calculate the required lashing, ratchet straps of dogs and chains for your application
-
the most cost- and time effective solution to secure your cargo
Tie Down Lashing, aka Over The Top Lashing to Secure Cargo
We always recommend using Direct Lashings instead of Tie Down Lashings. With Tie Down Lashings, also known as Over the Top Lashings, you only use the actual tensioning force of your restraint system and not the actual breaking strength. This means you need to apply more lashing straps, chains or ratchets to secure your cargo.

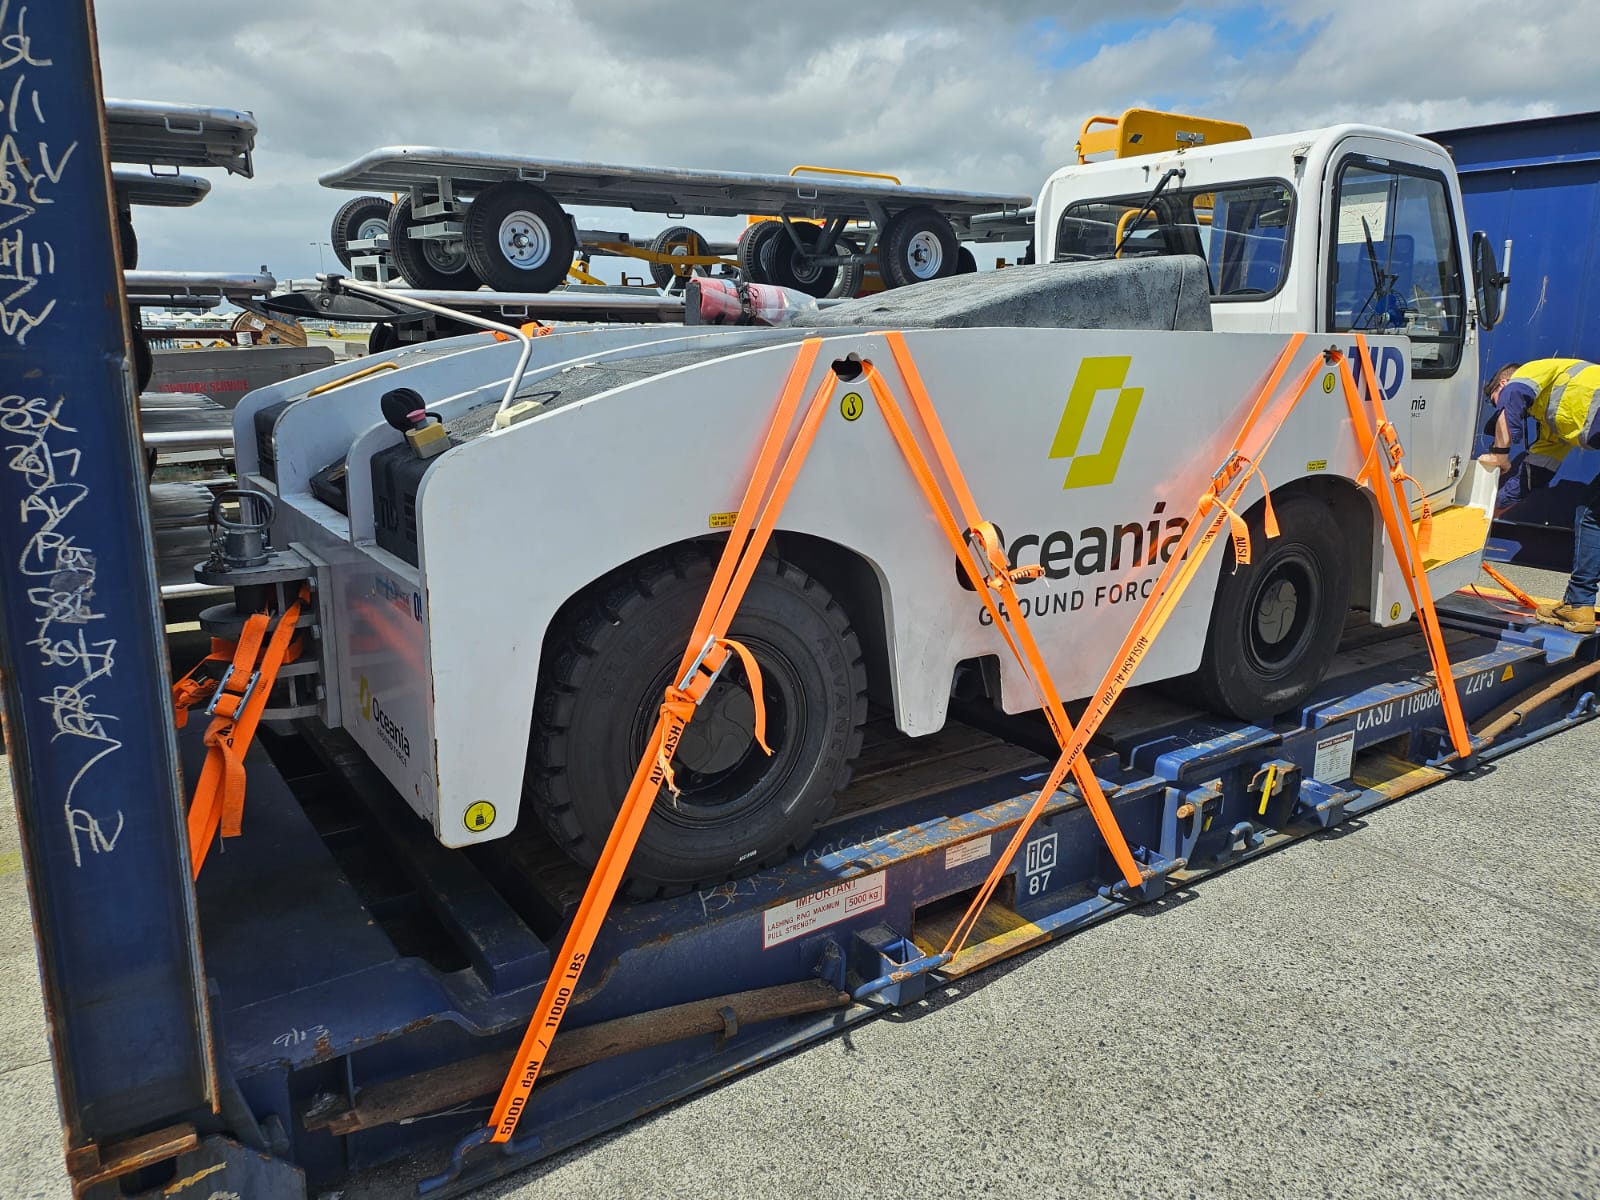
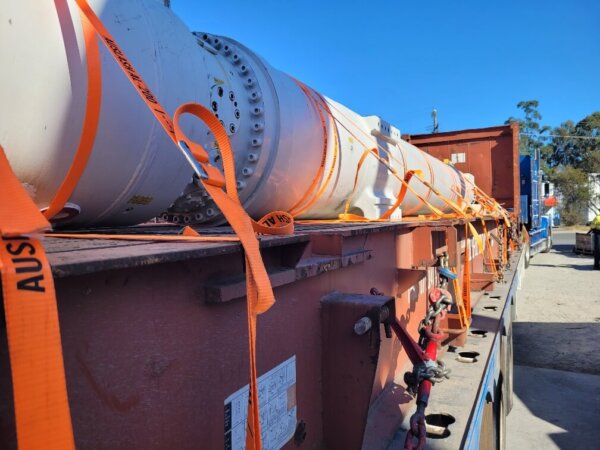
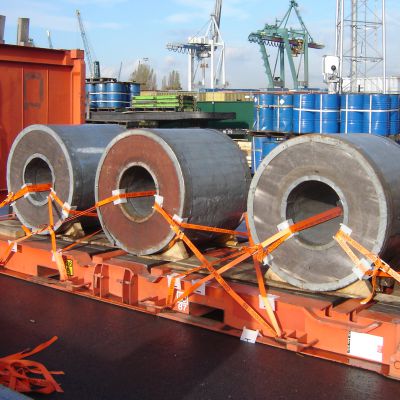
Direct Lashing, aka Belly or Choker Lashing for Securing Cargo
Using a direct lashing, aka a belly or choker lashing, the cargo is secured by making a direct connection in the direction of movement between the cargo and the CTU. When a force is exerted on the cargo, this is transferred directly to the lashing material. This allows you to make use of the maximum strength of the lashing material.


Tie-Down vs Direct Lashing | Video
The best way to understand the science and effectiveness between the 2 lashing methodologies is demonstrated in this video. In the video we pushed over 2 flat racks with steel pipes secured to them using both methodologies.
The minimum requirements for side way movement by both the Load Restraint Guidelines of the NHVR and the CTU Code, are 0.5G for side way movements, or 30degrees in a sideway tilt. As you can see, the tie downs do meet this minimum requirement, but the cargo does move beyond that. The direct lashing methodology however demonstrates no cargo movement at all, even at 1G, or a 90 degrees side way tilt.
How to calculate the required cargo lashing
When using tie-downs you can only calculate with the tension force of the system you are using. In most cases this is only 500kg per tie-down, regardless of the strength of the lashing, rachet strap of steel chain you are using. Depending on the total weight of your load, this could mean you have to use a significant amount of straps or chains to reach compliance.
When using the direct lashing methodology, you can calculate with the actual SWL (Safe Working Load) of the system you are using. If you use the Cordlash system the SWL of the system strength is 75%. If you are using ratchet straps or chains, the SWL is 50% of the strength.
Simply explained:
- Tie Down with a 5t system (Cordlash, ratchet strap or chain) : 500kg per tie down
- Direct Lashing with a 5t Cordlash: 3750kg per direct lashing
- Direct Lashing with a 5t Ratchet strap or dog and chain: 2500kg per direct lashing
The above recommendations are based on the rules and regulations of the IMO/ILO CTU Code. The same recommendations apply to reach compliance following the Australian Load Restraint Guidelines set by the NHVR.
The weakest link of your lashing system
It is important to keep in mind that the rule of thumb to secure cargo to reach compliance is to secure the weight of the cargo in ALL directions using the SWL of the weakest link in your lashing system. Often the weakest of your lashing system is the lashing point you are using on the flat rack or trailer. Eg. Cordlash 200 has a certified system strengt of 8.5t. This means that using direct lashings you can calculate with 75% x 8.5t = 6375kg. However, the lashing points on a flat rack are rated at 5t. Therefore, you need to calculate with 5t per direct lashing.
The most cost- and time effective method to secure cargo
The Cordlash system used as direct lashings will be the most time- and cost effective way to secure cargo.
- Cordlash is cheaper than ratchet straps or dogs and chains
- Using Cordlash as direct lashings allows you to calculate with 75% SWL, vs only 50% SWL using ratchet straps or dogs and chains
- Because using direct lashings allows you to calculate with the SWL of the strength of the system, compared to only the tie down force when using tie-downs, the total amount of lashing required for this methodology to secure your cargo is less.
Hopefully this article gave you a better understanding of why it is better to use direct lashings instead of tie downs when it comes to securing your cargo for road and sea transport. If you have any more questions, would like recommendations you can trust or want us to provide you with a 3D loading diagram, get in touch with us anytime at 1300 478 727.


